ARCOS Client Manager ActiveX Help Manual
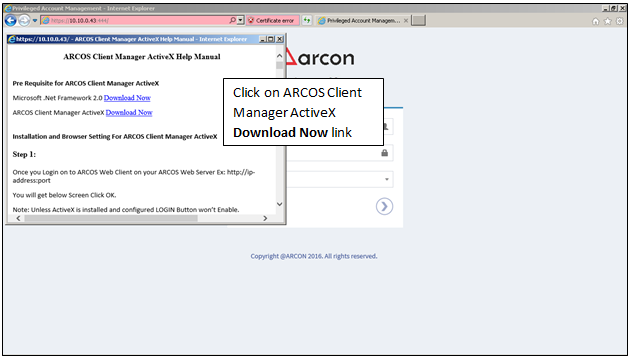
Pre Requisite for ARCOS Client Manager ActiveX
Microsoft .Net Framework 4.5 Download Now
ARCOS Client Manager ActiveX Download Now
Installation and Browser Setting For ARCOS Client Manager ActiveX
Step 1:
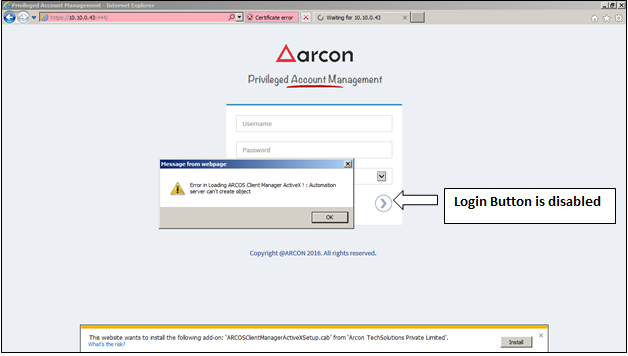
Once you Login on to ARCOS Web Client on your ARCOS Web Server Ex: http://ip-address:port
You will get below Screen Click OK.
Note: Unless ActiveX is installed and configured LOGIN Button won’t enable.
Step 2:
Click on ActiveX Help button to Install ActiveX
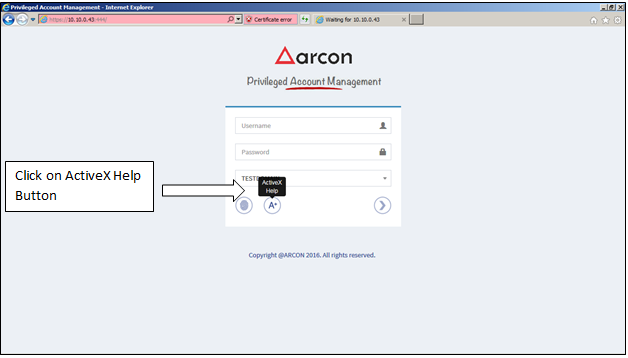
Following window will be displayed.
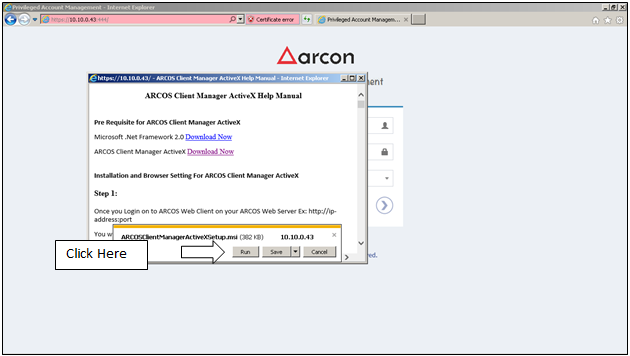
Step 3:
Click On Run
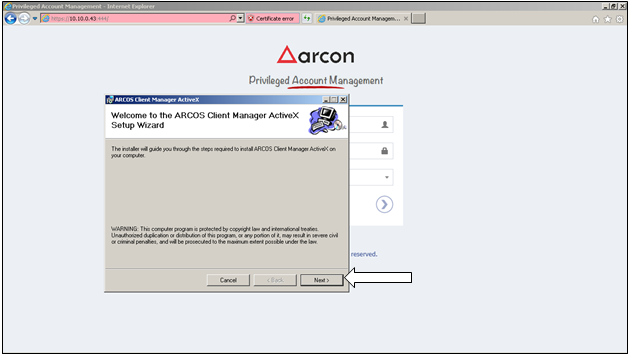
Step 4:
Click On Next
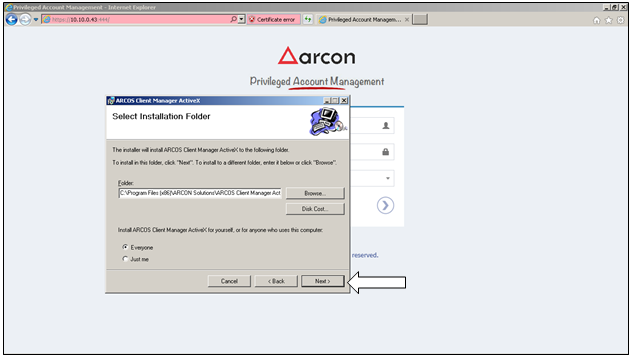
Step 5:
Click On Next
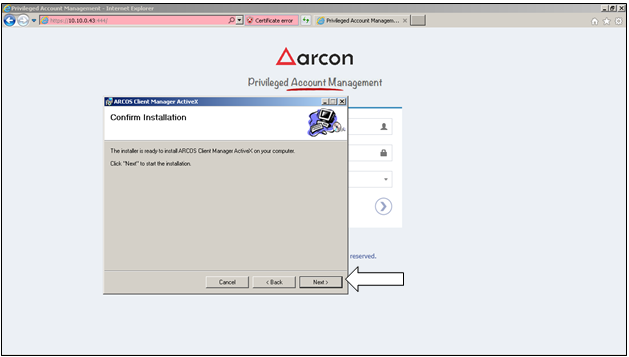
Step 6:
Click On Next
Step 7:
Click On close.
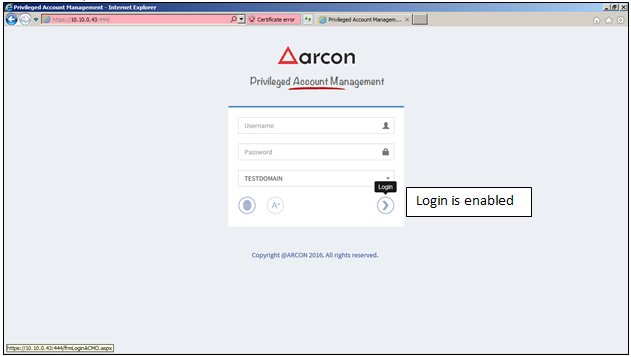
ActiveX Is Installed.
Now you need to Configure ActiveX
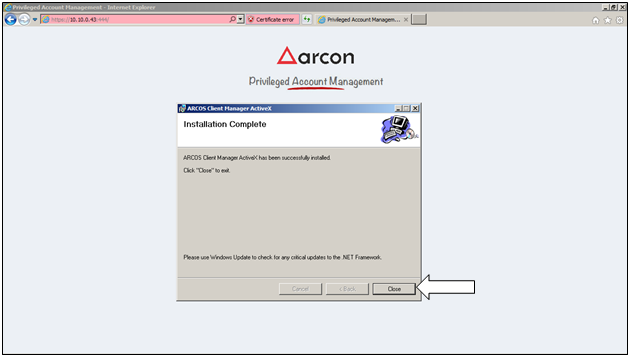
Login button is enabled now.
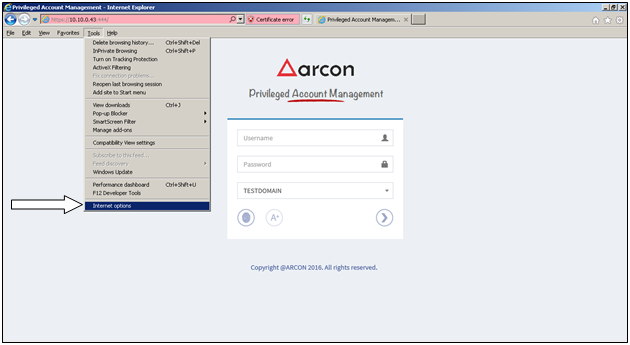
Step 8:
Configure ActiveX Follow the following step.
Internet Explore > Tools > Internet Options
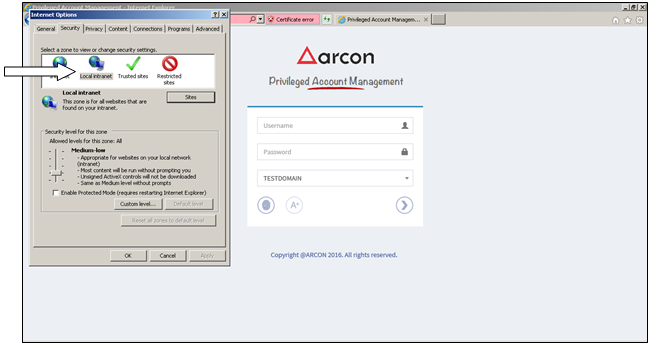
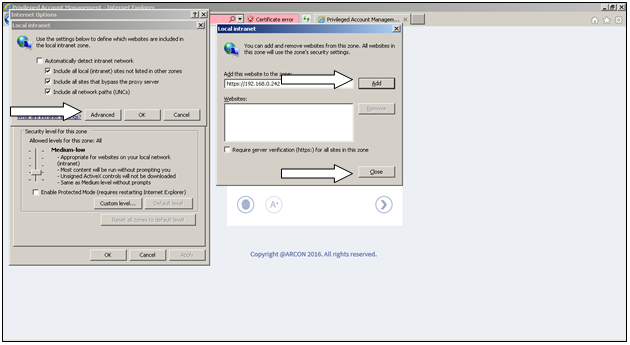
Step 9:
Internet Options > Security Tab > Select Local Intranet > Click Sites > Click Advance > and Add the ARCOS Web Server Address. Click Add > Once Site is Added > Click Close
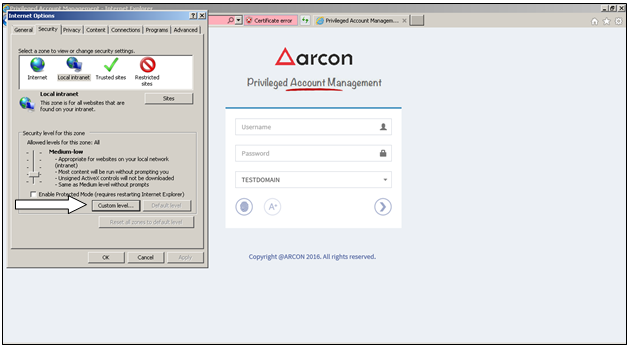
Step 10:
Once Site is Added > Click Custom Level.
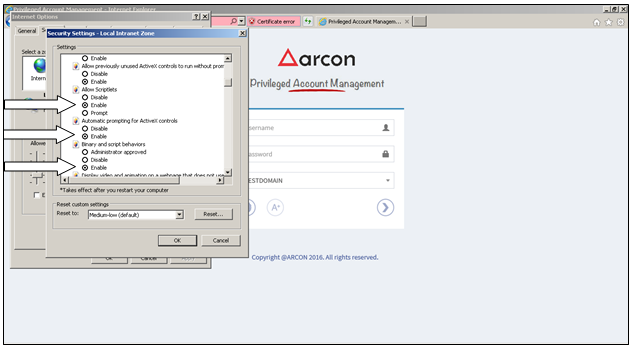
Step 11:
After Click on Custom Level a window will open.
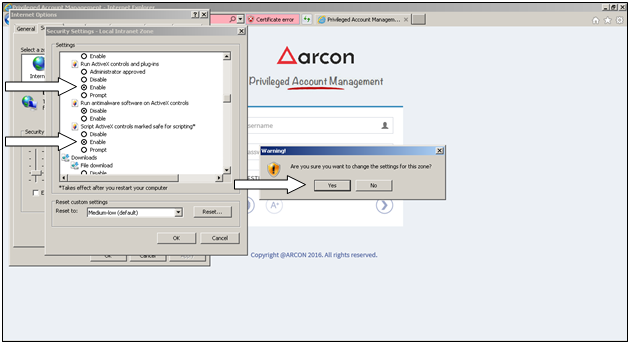
Search: ActiveX Controls and Plug-ins > And Select Enable for Everything under ActiveX Controls and Plug-ins. As seen in Snapshot.
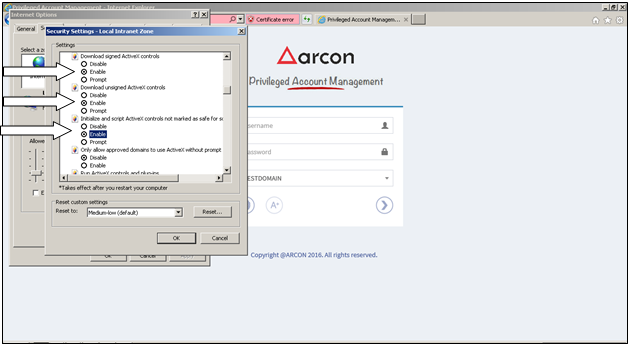
Step 12:
After enable everything under ActiveX Controls and Plug-ins.

Click OK > Click Yes.
Step 13:
After Click on Yes, Restart the Browser and go to ARCOS Web Client on your ARCOS Web Server
Ex: https://ip-address:port
Note: Now Login Button is Active. Once Login Button is Active Installation and Configuration is Successful

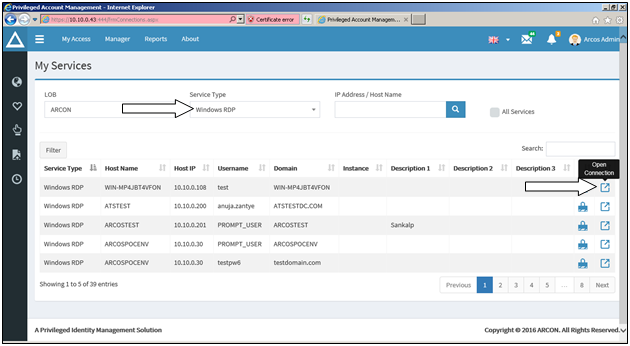
Step 14:
Enter Active Directory Login > After Login > Select Service Type > Open